I'm back from Los Angeles, and I had a great time! We all survived the speeches that one always has to sit through at a graduation, and then we had fun. We went to the Aquarium of the Pacific in Long Beach, which was pretty fun. My favorite exhibit there was the sea otters, although I found it gallingly ironic that the exhibit is sponsored by BP. Did you know that a sea otter has as many hairs in one square inch as a German shepherd has on its entire body? The next day we went to the La Brea Tar Pits; this is by far the best thing I've ever done in L.A. after several visits. If you're ever in L.A. and have to choose where you have time to go, definitely do the Tar Pits. I learned a lot there, but my favorite piece of trivia is the scientific name for the saber-toothed cat: Smilodon fatalis.
As I had hoped, I got some work done on the placemats for my cousin. Here's the first row:
I obviously won't be able to show the full placemats in detail, since I had to lay just the one row diagonally across the scanner, but I promise to show as much as I can. The next row will be the "B" motif done in the Light Wedgewood. The whole thing will be much more stable once the next row is joined.
I need to finish unpacking now and get caught up on my blog reading. Can't wait to see what you all did at Tat Days!
If all goes as planned, I will get to meet somebody very special tomorrow. Photos to come....
"But, really, why does anyone create? You feel a... a restlessness inside, a need to make something new, something no one has ever seen before. You want to add to the beauty and the richness of the world with a gift, an offering that is uniquely yours. It's an act of selfishness and generosity, all rolled into one."
-- Bruce Coville, The Last Hunt
Tuesday, August 31, 2010
Thursday, August 26, 2010
Odds and Ends, and Beginnings
While awaiting the arrival of the blue threads for the placemats, I added a few more items to my "tatting grab bag". This is the little baggie that I'm going to start carrying with me when I tat in public so I can give little motifs to people who express interest. All three of these are from Mary Konior's Tatting with Visual Patterns.
I did the "Carnival" motif in Tatskool's "Vanilla Sky" HDT. I can never get this thread to scan right; somehow the pink gets washed out. Tatskool has a much better image of what the thread looks like at the link above. I think the soft colors of this thread go really nicely with the curves of the motif.
I did make one mistake there at the bottom where I forgot to join those two rings. I didn't notice it until I was blocking it. I am learning to tolerate imperfection; still, if I were keeping this piece or giving it as a particular gift, I would re-do it. Hopefully as a grab bag item, it can find a home with someone who likes the colors and doesn't mind the glaring error in the tatting.
Here you go, Diane! Most tatters will recognize this as the "Spinning Wheel Glass Mat". The thread is "Wildflowers" by LadyShuttleMaker. This HDT is unlike any other I've seen with its very short changes and little splashes of color. I love it! In fact, I may decide to keep this one.
This is "Patchwork". It's not a new piece. I tatted it over a year ago and forgot about it until I ran across it the other day. It goes to show that just about anything can be turned into Christmas tatting with the right colors, in this case Lizbeth Victorian Red and Christmas Green.
Since the blues have now arrived, here is the beginning of the first placemat:
Well, it's a start. The pattern is Jon Yusoff's Clover Mat, and the thread is Lizbeth size 40 Wedgewood Dark. So far, the Lizbeth isn't splitting, so I think I got a good ball.
I probably won't post again till I get back from L.A. Hopefully I'll be able to make some progress on the mat while I'm out there.
I did the "Carnival" motif in Tatskool's "Vanilla Sky" HDT. I can never get this thread to scan right; somehow the pink gets washed out. Tatskool has a much better image of what the thread looks like at the link above. I think the soft colors of this thread go really nicely with the curves of the motif.
I did make one mistake there at the bottom where I forgot to join those two rings. I didn't notice it until I was blocking it. I am learning to tolerate imperfection; still, if I were keeping this piece or giving it as a particular gift, I would re-do it. Hopefully as a grab bag item, it can find a home with someone who likes the colors and doesn't mind the glaring error in the tatting.
Here you go, Diane! Most tatters will recognize this as the "Spinning Wheel Glass Mat". The thread is "Wildflowers" by LadyShuttleMaker. This HDT is unlike any other I've seen with its very short changes and little splashes of color. I love it! In fact, I may decide to keep this one.
This is "Patchwork". It's not a new piece. I tatted it over a year ago and forgot about it until I ran across it the other day. It goes to show that just about anything can be turned into Christmas tatting with the right colors, in this case Lizbeth Victorian Red and Christmas Green.
Since the blues have now arrived, here is the beginning of the first placemat:
Well, it's a start. The pattern is Jon Yusoff's Clover Mat, and the thread is Lizbeth size 40 Wedgewood Dark. So far, the Lizbeth isn't splitting, so I think I got a good ball.
I probably won't post again till I get back from L.A. Hopefully I'll be able to make some progress on the mat while I'm out there.
Monday, August 23, 2010
New Goodies
Just a quick note to show off the stuff that arrived this weekend.
These are my new David Reed Smith shuttles:
On top is the padouk that replaces the one that broke this week. I did consider filing the point of the broken one down as several people suggested, but it would have made me not enjoy the shuttle as much. Since it was my favorite, I decided I'd rather have a new one. The bottom shuttle in this photo is the purpleheart that I got just "cuz".
And here's my latest Handy Hands order:
The threads in the front row are the blues that I'm going to use for my cousin's placemats. The others I got just because they were pretty, and I wanted to get my order up to the $35 point for free shipping. That's such a great sales technique; I almost always spend more money to get the free shipping.
And I keep on buying Lizbeth threads because the colors are so great, even though I know that the quality is not always what it should be. I can't help it.
These are my new David Reed Smith shuttles:
On top is the padouk that replaces the one that broke this week. I did consider filing the point of the broken one down as several people suggested, but it would have made me not enjoy the shuttle as much. Since it was my favorite, I decided I'd rather have a new one. The bottom shuttle in this photo is the purpleheart that I got just "cuz".
And here's my latest Handy Hands order:
The threads in the front row are the blues that I'm going to use for my cousin's placemats. The others I got just because they were pretty, and I wanted to get my order up to the $35 point for free shipping. That's such a great sales technique; I almost always spend more money to get the free shipping.
And I keep on buying Lizbeth threads because the colors are so great, even though I know that the quality is not always what it should be. I can't help it.
Saturday, August 21, 2010
The Planning Phase
This is my test tat of Motif A from Jon Yusoff's Clover Mat. I will not be making the mat with this thread, because that would be way too much (plus it's not the colors I need). I just did this to see how big the motif is in size 40 (it's 1 3/4 inches), because the diameter of this motif times the number of motifs across will be the finished size of the mat.
The thread is Lizbeth 113, Jewels. I know that many people find this colorway too busy, but I like it, as long as it is reserved for simple motifs. I do agree that for large or complex designs, it can look chaotic and detract from the tatting. I love the colors, though.
I also wanted to see if I could create a matching straight edging with corner to go with the motif, and here it is:
I may tweak the corner a bit, but it works.
So here's what it's all about. My cousin is getting married next April. My plan (though you know what they say about the best laid plans) is to to make her a set of placemats, and if I have time, put the matching edging on some napkins.
She told me she likes deep blue and brick red. Well, I'm not going to attempt to include the red, because reds can be so horrible if you don't get an exact match. Instead, I will use two shades of blue, since blue is a much more forgiving color. After looking at a lot of threads, the one that I think would best be described as "deep blue" is Lizbeth Dark Wedgewood. This is good, because Lizbeth is affordable at the quantities I'm going to need, and the size 40 doesn't seem to have the same quality issues that many people have experienced with the size 20. The mat pattern will look best in a solid color, but I think that using two solids together will also be interesting. And too much of the Dark Wedgewood is, well, too much. So I'll be using the DW for Motifs A and C, and Light Wedgewood for Motif B (follow the link above to Jon's pattern to see what I'm talking about).
As for my colorful test tat motif, I'll find a good home for it. Several people have mentioned that they like to carry a baggie of small motifs with their tatting supplies, so that when someone shows interest in what they are doing, they can give the person a motif. I think this is a nice idea, and it also gives me an excuse to tat motifs without letting them take over my apartment. So far, the giveaway bag contains this motif, plus the rainbow ones I showed in my very first post. I'll have to do a few things in tamer threads, just in case people want something that doesn't make their eyes spin.
EDIT: I had a question about the rainbow threads mentioned above. Tatskool sells them and many other wonderful HDT's here.
The thread is Lizbeth 113, Jewels. I know that many people find this colorway too busy, but I like it, as long as it is reserved for simple motifs. I do agree that for large or complex designs, it can look chaotic and detract from the tatting. I love the colors, though.
I also wanted to see if I could create a matching straight edging with corner to go with the motif, and here it is:
I may tweak the corner a bit, but it works.
So here's what it's all about. My cousin is getting married next April. My plan (though you know what they say about the best laid plans) is to to make her a set of placemats, and if I have time, put the matching edging on some napkins.
She told me she likes deep blue and brick red. Well, I'm not going to attempt to include the red, because reds can be so horrible if you don't get an exact match. Instead, I will use two shades of blue, since blue is a much more forgiving color. After looking at a lot of threads, the one that I think would best be described as "deep blue" is Lizbeth Dark Wedgewood. This is good, because Lizbeth is affordable at the quantities I'm going to need, and the size 40 doesn't seem to have the same quality issues that many people have experienced with the size 20. The mat pattern will look best in a solid color, but I think that using two solids together will also be interesting. And too much of the Dark Wedgewood is, well, too much. So I'll be using the DW for Motifs A and C, and Light Wedgewood for Motif B (follow the link above to Jon's pattern to see what I'm talking about).
As for my colorful test tat motif, I'll find a good home for it. Several people have mentioned that they like to carry a baggie of small motifs with their tatting supplies, so that when someone shows interest in what they are doing, they can give the person a motif. I think this is a nice idea, and it also gives me an excuse to tat motifs without letting them take over my apartment. So far, the giveaway bag contains this motif, plus the rainbow ones I showed in my very first post. I'll have to do a few things in tamer threads, just in case people want something that doesn't make their eyes spin.
EDIT: I had a question about the rainbow threads mentioned above. Tatskool sells them and many other wonderful HDT's here.
Friday, August 20, 2010
Butterflies!
I've been taunting you lately with a few things that I wouldn't tell you the reason for. It's not any big secret, really; I just enjoy being a tease sometimes.
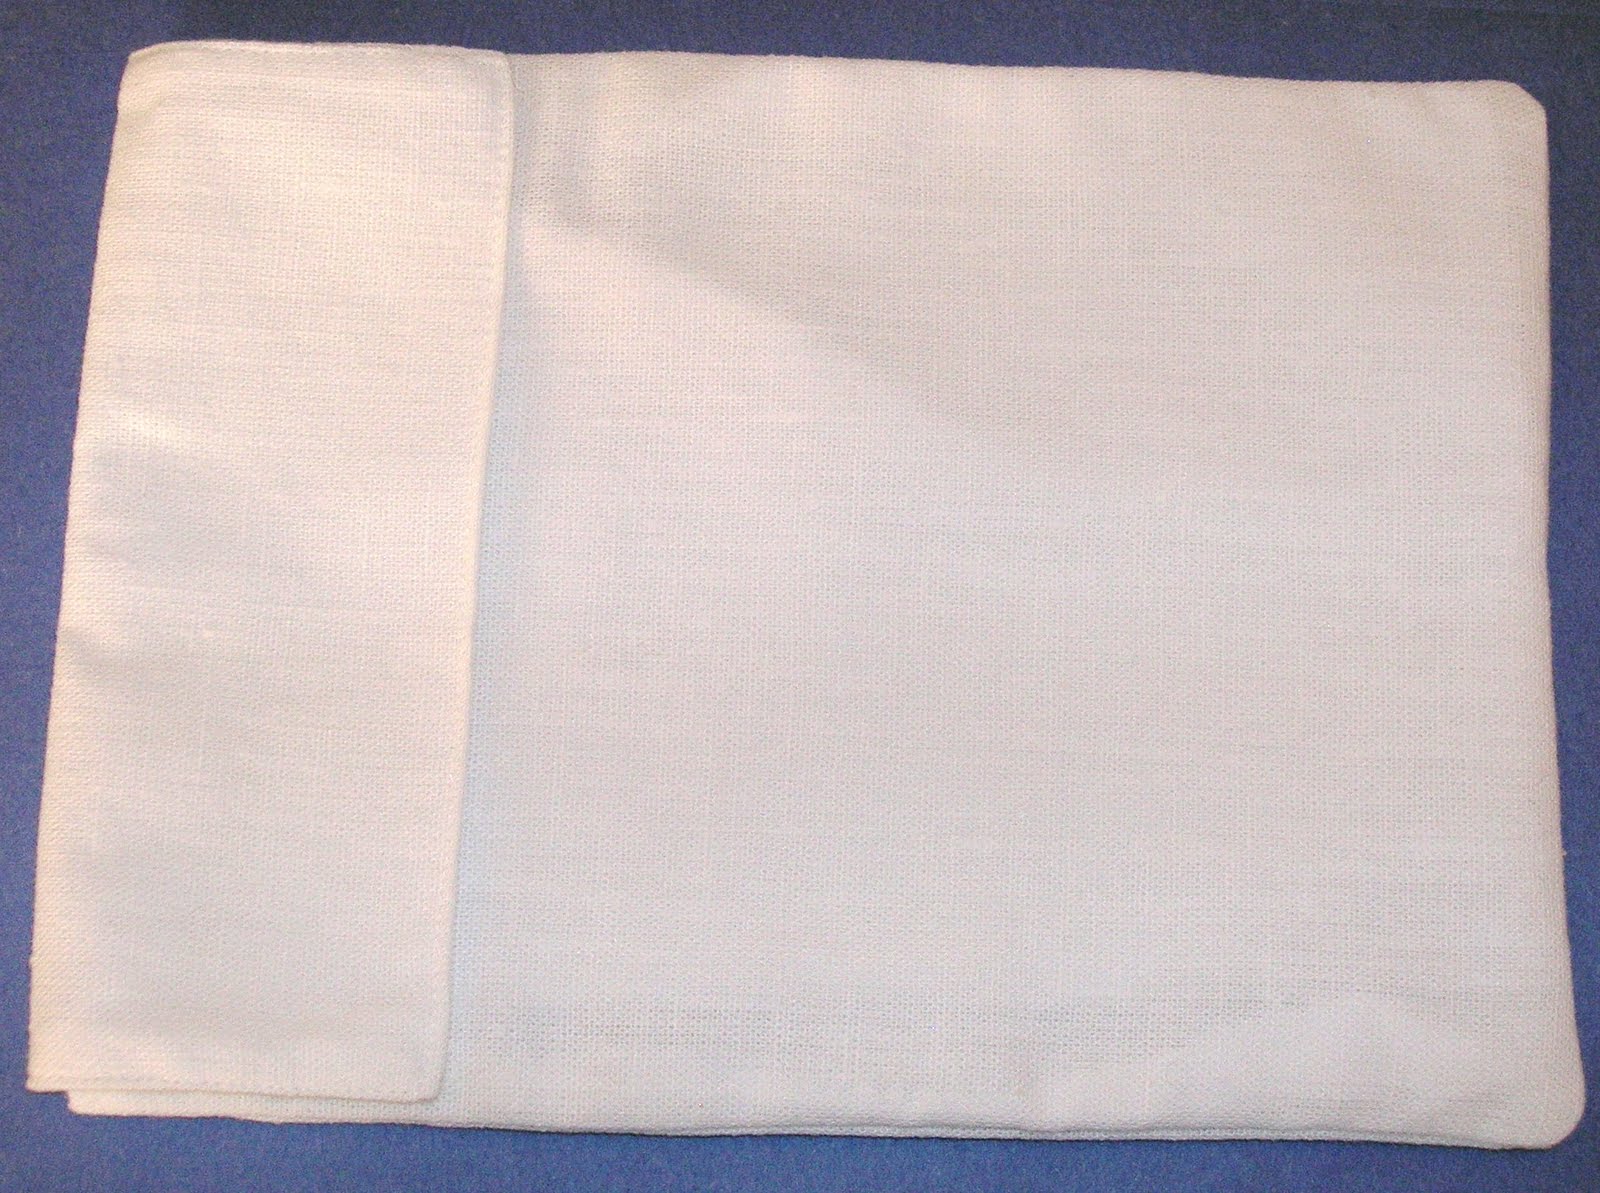
First of all, a huge thanks to Gina the Tatting Goddess, who responded to my plea for plain bags/ purses that I could add tatting to. Gina very kindly sent me this lovely white bag:
It's just the perfect size. To make it even more special, it turns out that the fabric comes from a skirt of Gina's mother's! Thank you, Gina!
So I got this dress a couple of months ago:
Here's a detail of the embroidered butterflies:
Now, do you remember these tatted butterflies?
For the full details on these, see this post. I'll just add here that "Diana" (top) has each wing made separately, so it was easy to start at the same spot in the thread both times and make the colors symetrical. On Jane's butterfly (bottom left), I got lucky that the colors almost matched up; it's close enough that I can live with it. With "Birte" (bottom right), it took a bit of trial and error to see where I needed to start on the thread so that the colors would align, but I was determined to do it.
Back to the dress, the piping looks turquoise, but when I started holding threads up to it, I realized it's actually green. In fact, it is exactly the same color as Lizbeth 688, Seagreen Dark.
The photo also shows a bit of the lace detail at the shoulder of the dress. You might recognize the tatting pattern from the white edging I showed the other day. Oops, I held it with the back side showing.
And now you know why I needed such a long length of tatting. Not an edging at all, but a shoulder strap. This particular design has a bit of give to it. I don't want it to stretch out when the purse is "loaded", so I ran a length of untatted size 20 thread through the middle of it to stabilize it. If you click to enlarge the photo, you'll see it a bit, but I don't think it detracts from the design too much.
This also shows why I enlarged "Diana's" tail. It's a little hard to see in the photo, but I'm using it as a button loop to hold the purse closed. There are patterns for tatted frog closures, but you can do this with just about any tatted motif. All you have to do is elongate one corner to accomodate the button (or a large-ish bead can be used instead of a button).
And here's the entire ensemble:
I tend to wear these colors a lot, so the purse will go with other outfits too, but I really made it for this dress. And yes, Mom, you will get to see it in person.
Gina also very generously sent me this bookmark:
Such happy colors! It reminds me of the Indian paintbrush flowers that grow wild here in New Mexico-- just in case you thought the desert was drab.
First of all, a huge thanks to Gina the Tatting Goddess, who responded to my plea for plain bags/ purses that I could add tatting to. Gina very kindly sent me this lovely white bag:
It's just the perfect size. To make it even more special, it turns out that the fabric comes from a skirt of Gina's mother's! Thank you, Gina!
So I got this dress a couple of months ago:
Here's a detail of the embroidered butterflies:
Now, do you remember these tatted butterflies?
For the full details on these, see this post. I'll just add here that "Diana" (top) has each wing made separately, so it was easy to start at the same spot in the thread both times and make the colors symetrical. On Jane's butterfly (bottom left), I got lucky that the colors almost matched up; it's close enough that I can live with it. With "Birte" (bottom right), it took a bit of trial and error to see where I needed to start on the thread so that the colors would align, but I was determined to do it.
Back to the dress, the piping looks turquoise, but when I started holding threads up to it, I realized it's actually green. In fact, it is exactly the same color as Lizbeth 688, Seagreen Dark.
The photo also shows a bit of the lace detail at the shoulder of the dress. You might recognize the tatting pattern from the white edging I showed the other day. Oops, I held it with the back side showing.
And now you know why I needed such a long length of tatting. Not an edging at all, but a shoulder strap. This particular design has a bit of give to it. I don't want it to stretch out when the purse is "loaded", so I ran a length of untatted size 20 thread through the middle of it to stabilize it. If you click to enlarge the photo, you'll see it a bit, but I don't think it detracts from the design too much.
This also shows why I enlarged "Diana's" tail. It's a little hard to see in the photo, but I'm using it as a button loop to hold the purse closed. There are patterns for tatted frog closures, but you can do this with just about any tatted motif. All you have to do is elongate one corner to accomodate the button (or a large-ish bead can be used instead of a button).
And here's the entire ensemble:
I tend to wear these colors a lot, so the purse will go with other outfits too, but I really made it for this dress. And yes, Mom, you will get to see it in person.
Gina also very generously sent me this bookmark:
Such happy colors! It reminds me of the Indian paintbrush flowers that grow wild here in New Mexico-- just in case you thought the desert was drab.
Monday, August 16, 2010
A Tragedy
This was the first David Reed Smith shuttle I ever got, and it has been my favorite shuttle for ten years. The wood is padouk, and I find that it has just the right degree of flexibility in the tips. Then last night when I was making a join, this happened:
But, hey, ten years of faithful service is not bad, and I do live in a climate that makes wood brittle. I was able to finish the edging using a crochet hook for the rest of the joins with this shuttle. Then I went to David's web site and ordered a new shuttle just like it, as well as a purpleheart shuttle. So I guess it's not a complete tragedy.
Friday, August 13, 2010
Thank God for Netflix!
I hate making edgings. They are so tedious. After about the fourth repeat, I'm bored and want to throw my shuttles across the room. However, I have a need for a rather long strip of tatting-- 46 inches, to be exact.
And you know what? It's not that bad. In this case, the monotony of the pattern actually makes it better, because I can watch movies while I do it and not worry about making a mistake. This pattern really requires no concentration at all. You just make one section, switch shuttles, and do the exact same thing with the other shuttle; it doesn't even matter which is shuttle 1 and shuttle 2.
I only wonder how people used to do things like this before Netflix, because if I couldn't stream movies, I would not be doing this.
The pattern is Edging No. 36 from the book Tatting with Anne Orr. I'm doing it in size 20 to make it go faster, and also because I don't want it any narrower than it is.
What on earth do I need 46 inches of tatting for? You'll see....
And you know what? It's not that bad. In this case, the monotony of the pattern actually makes it better, because I can watch movies while I do it and not worry about making a mistake. This pattern really requires no concentration at all. You just make one section, switch shuttles, and do the exact same thing with the other shuttle; it doesn't even matter which is shuttle 1 and shuttle 2.
I only wonder how people used to do things like this before Netflix, because if I couldn't stream movies, I would not be doing this.
The pattern is Edging No. 36 from the book Tatting with Anne Orr. I'm doing it in size 20 to make it go faster, and also because I don't want it any narrower than it is.
What on earth do I need 46 inches of tatting for? You'll see....
Subscribe to:
Posts (Atom)